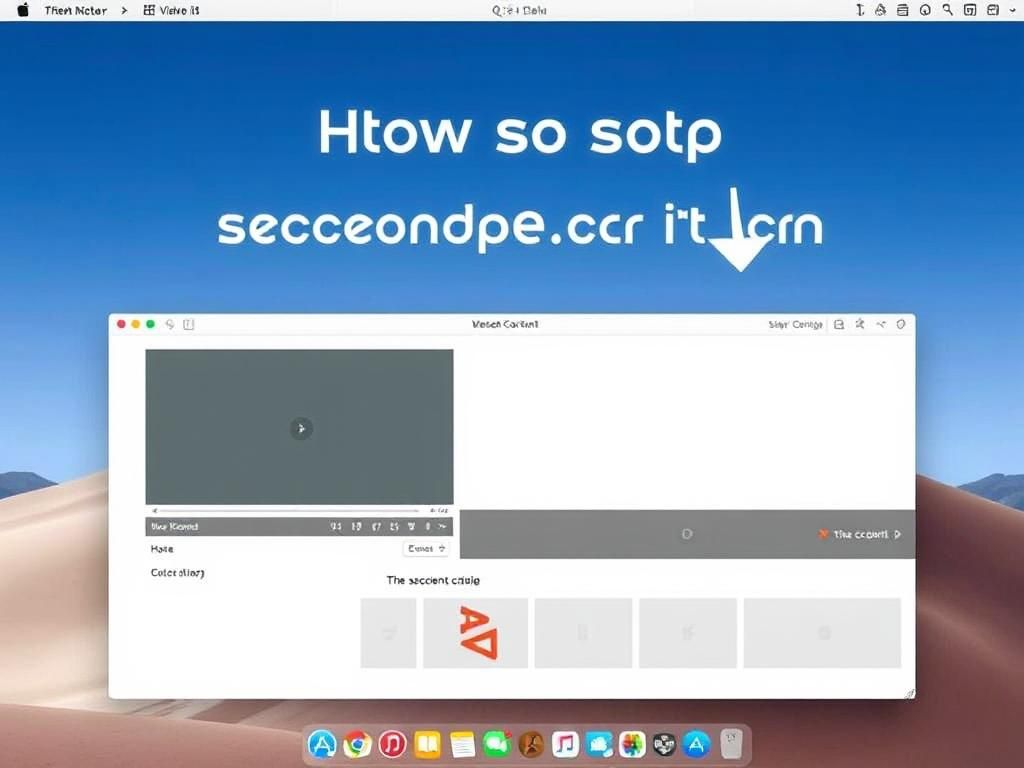
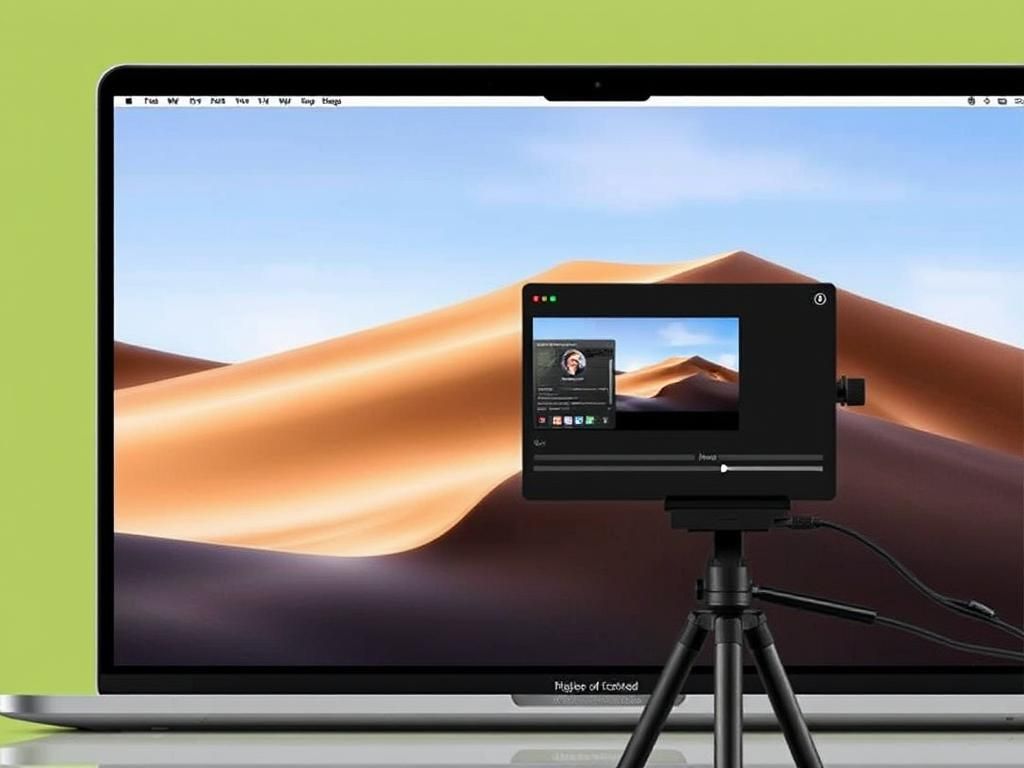
Screen recording on Mac has become an essential tool for a variety of purposes, from creating tutorials to capturing gameplay. However, there may be moments when you need to know how to stop screen recording on Mac. Whether it’s to prevent unnecessary recording of files, to manage your workflow better, or simply to keep your content organized, knowing how to quickly halt a recording can save you time and frustration. In this article, we will explore various methods to stop screen recording on Mac, as well as some valuable tips for managing your recordings effectively.
Understanding Screen Recording on Mac
What is Screen Recording?
Screen recording is the process of capturing video and audio output from your computer screen. This feature is widely used by content creators, educators, and professionals for a range of applications such as making video tutorials, recording webinars, or documenting gameplay. Common applications that facilitate screen recording on a Mac include QuickTime Player, the built-in macOS screen capture tool, and various third-party applications like OBS Studio and Snagit.
Built-in Screen Recording Features on Mac
Macs are equipped with several built-in features that make screen recording straightforward. The most popular choice is QuickTime Player, which offers users the ability to capture their display without requiring additional software. Additionally, macOS provides screen recording capabilities via quick keyboard shortcuts, allowing you to start and stop recordings efficiently.
Methods to Stop Screen Recording on Mac
Stopping Recording via Keyboard Shortcuts
One of the quickest ways to stop screen recording on Mac is through keyboard shortcuts. The common shortcut to conclude recordings is Command + Control + Esc. If you find yourself frequently using screen recording, you can customize these keyboard shortcuts to suit your preference. To do this, go to System Preferences > Keyboard > Shortcuts, and modify the options under “Screen Shots.”
Stopping Recording in QuickTime Player
If you are using QuickTime Player for your recordings, stopping the process is simple:
- Navigate to the QuickTime window where your recording is displayed.
- Click on the Stop Recording option in the menu bar or the control panel.
- Once you’ve stopped the recording, a prompt will appear requesting you to save the file. Choose your desired destination and file name to save your recording.
It’s advisable to save your recording right after stopping to avoid losing it.
Ending Screen Recordings via Menu Bar
Another convenient method is to use the menu bar at the top of your screen. If your screen recording is active, you will see a small recording icon that looks like a dot within a square.
- Click on the recording icon in the menu bar.
- Select the option to stop the recording.
This method is particularly useful if you have started a recording but need to be reminded of where or how to stop it while working on another application.

Disabling Screen Recording in Third-Party Applications
Many users turn to third-party applications for screen recording. Popular apps such as OBS Studio and Snagit offer more advanced options for recording but come with their own approaches for stopping recordings.
For instance, in OBS Studio, you can stop your recording by:
- Clicking the Stop Recording button in the lower right corner of the window.
Similarly, in Snagit:
- Click the Stop button in the Snagit capture window.
- Make sure to select whether to save or discard your captured video.
When using third-party tools, always double-check to ensure your recordings are saved or managed according to your needs.
Troubleshooting Common Issues
Screen Recording Not Stopping
Occasionally, users may experience issues with stopping their recordings. Here are a few reasons and potential solutions:
- Application glitch: If your recording app becomes unresponsive, try quitting and restarting the application.
- OS issues: If you can’t stop the recording through conventional methods, a restart of your Mac may be necessary.
Recovery of Interrupted Recordings
If a recording is stopped abruptly, you might be wondering if it’s still recoverable. The chances depend on how the application manages files. In many cases:
- If QuickTime identifies that recording was halted improperly, it might still prompt you to save a temporary file.
- For third-party applications, check if they have auto-recovery features or saved temporary files in designated folders.
Tips for Better Screen Recording Management
Previewing Recordings Before Stopping
Taking a moment to preview your screen recording before you finalize it can significantly enhance your productivity. This allows you to ensure that you’ve captured all necessary elements and that there are no unwanted sections that need to be trimmed. In QuickTime, for example, you can click the playback button to review your recording in real-time.
Organizing Saved Screen Recordings
Once your recordings are complete, organizing them efficiently is key to maintaining order. Best practices include:
- Naming conventions: Use descriptive names that include dates or topics.
- Folder organization: Create dedicated folders for different projects or themes.
For enhanced management of video files, consider using tools like Adobe Premiere Pro for editing and organizing recordings.

Conclusion
In summary, knowing how to stop screen recording on Mac efficiently is essential for any Mac user who utilizes this tool. With the methods outlined in this article, you can now stop recording seamlessly, ensuring that your files remain organized and usable.
Additional Resources
For further insight, refer to Apple’s official documentation on screen recording [here](https://support.apple.com/en-us/HT208721). You may also explore community forums like Apple Support Communities for shared experiences and additional tips.
FAQ
1. Can I stop screen recording with a mouse click?
Yes, if using QuickTime or another application that provides a stop button, you can easily stop the recording via a mouse click.
2. What if my screen recording is not saving?
Ensure that you have permissions enabled, and check if there is sufficient storage space available on your Mac.
3. How can I edit my screen recordings?
You can use tools like QuickTime Player for basic trimming or more advanced software like Adobe Premiere Pro for detailed editing.
4. Are there limits to screen recording on Mac?
There’s no inherent time limit, but performance may be affected by available resources. For extensive recordings, ensure enough disk space.
5. Can I record audio while screen recording?
Yes, you can enable audio recording via microphone settings in your screen recording application.
6. How can I enhance the quality of my recordings?
Ensure that your display settings are optimized, and consider using higher quality recording software if necessary.
7. Will my recordings be automatically saved?
Most applications will prompt you to save once the recording stops. Be sure to follow the prompts to ensure your recordings aren’t lost.
8. Is there any way to schedule screen recordings?
Some third-party applications allow scheduling recordings, whereas QuickTime does not offer this feature by default.
9. Can I record my webcam along with the screen?
Yes, applications like QuickTime and OBS Studio allow for simultaneous recording of your webcam and screen.
10. What formats can I save my recordings in?
Common formats include MOV, MP4, and MKV, depending on the application used for recording.


